After watching the series "Baker King" I decided I'll try my hands on some home-made bread. Baking is one of my many passion but this is the first time I've ever tried making BREAD! The closest I ever got to making bread was the time I made home-made pizza and some flat breads [Roti/Chapati] but I don't think that counts. So, I pulled out my favorite cookbook: "Simply Italian" [Sophie Bambridge] and navigated to the
pane e pizza (bread and pizza), which is the same book I used when I made my home-made pizza. Technically speaking, to date, I have already made 2 batches of bread using the same recipe. The first batch I made wasn't exactly a success.
 |
| Italian Bread [first try], looks a bit rustic, with the floured top |
 |
| Batch 1: Success? |
For the first batch, I tried to follow the shapes that were shown in the book for classic Italian bread rolls (
ciambellini, cylindrical, oval and round) but this is how it turned out. I had no idea what I was doing and just figured that maybe I should just make my own shapes and it turned out quite well. Also, If you look on the right column you'll see that one of the bread has a gaping top, I originally wanted to form that as an oval roll but couldn't figure out how to do it, no matter how I tried shaping it into a lemon, it wouldn't stay that way, so, I tried to shape it into a lemon and then didn't know what to do with the gaping slit in the middle, so i stuffed it with some cream cheese and Christmas ham and then decided to do it for some of the left-over dough, most of the rolls you see on top have cream cheese and ham stuffed inside. Overall, it turned out quite tasty. The book suggested that if you want to have a good crust to form on the bread, you have to create steam while the bread is baking, so during the baking part, I sprayed water in the oven every 15-20 mins. even though the book only suggested to spray a little water into the oven at the beginning. Anyways, The crust turned out well enough. The bread had a crusty outer layer and the inside was soft and creamy. The only problem was that after the bread cools down, it starts turning a bit tough. It somehow ended tasting like a
baguette, good enough for me.
Anyways, a couple of weeks after making my first batch, i decided to do the second batch, and try making it softer (i guess). My aunt the baker suggested that the problem may have been on the yeast or during the kneading part. She said that if you keep adding flour while kneading, it'll turn tough after baking. So, for the second batch, i decided to increase the amount of yeast for the starter. Instead of using 1 Teaspoon of dried yeast, I increased it to 2 Teaspoons. Also, during the kneading part, I added as little flour as I could. I could already tell the difference while i was kneading the dough. This batch was lighter and fluffier that the first one and i could already tell how it would turn out.
 |
| second batch |
For the second batch, instead of going for the rustic look, I wanted this to look prettier. Instead of dusting it with flour, i decided on an eggwash to give it that golden look. The shapes are so much cuter as well and the round rolls were easier to make because of the softer dough. During the baking process, I followed the same process with providing spritz of water but did it every 10-15 minutes, I also placed a bowl of water in the oven for the duration of the baking process.
 |
| cylinder rolls |
 |
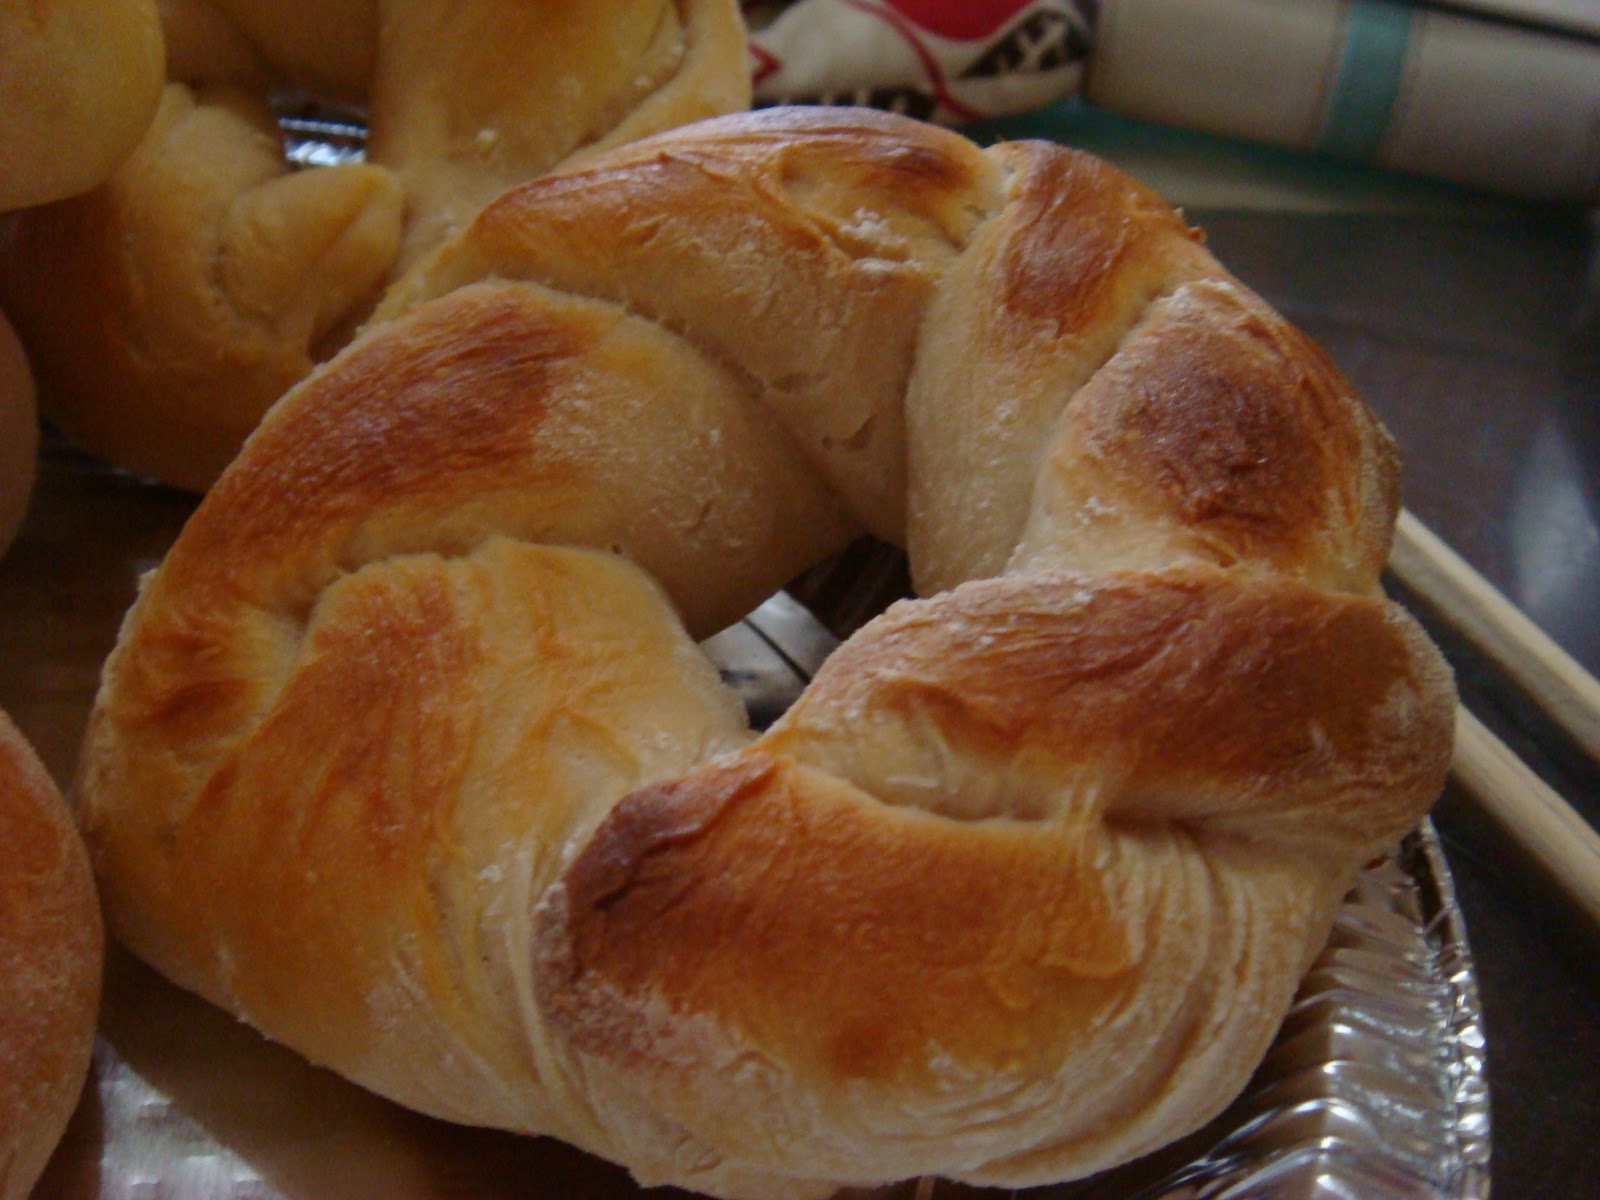
| just making fun shapes. I tried making a braid and made it into a donut braid instead. |
For this batch, there are no filling. It's just plain ol' Italian bread rolls. But, I still ate it with cream cheese. This batch was definitely softer and stayed soft longer than the first batch. I must warn you, that for this particular recipe, don't expect cottony soft bread. It's not that soft. Anyways, I'll be looking through some other recipes for soft breads. So, for the next few days, I'll probably be Googling and watching some YouTube videos for Yummy bread recipes.
for the bread recipe, please click on the RECIPE TAB on the TOP of the page.